Unleash Your Inner Inventor: A Beginner's Guide to Arduino
Have you ever dreamed of creating a robot that waters your plants, a custom LED light display, or a smart home device that turns on the lights when you clap? For years, electronics projects like these seemed reserved for engineers with years of experience. But that all changed with Arduino.
In this post, we'll dive into what Arduino is, why it's so revolutionary, and how you can write your first program to make an LED blink—the "Hello, World!" of the physical computing universe.
What is Arduino, Exactly?
At its heart, Arduino is an open-source electronics platform based on easy-to-use hardware and software. Think of it as a tiny, simple brain for your inventions.
The Hardware: This is the physical board, a small microcontroller. It has digital and analog pins where you can connect various components like sensors, lights, motors, and speakers. The most popular board for beginners is the Arduino Uno.
The Software: This is the Arduino IDE (Integrated Development Environment), where you write the code that tells the board what to do. The language is a simplified version of C++.
The magic of Arduino is its simplicity. You don't need a degree in computer science to get started. The community is huge, and countless tutorials and project ideas are available online for free.
Why is Arduino So Popular?
Beginner-Friendly: The barrier to entry is incredibly low. The software is free, the boards are inexpensive, and the wiring is done on a simple breadboard without any soldering.
Cross-Platform: The Arduino IDE runs on Windows, Mac, and Linux.
Open Source & Extensible: Both the hardware design and software are open source. This has led to a massive ecosystem of "shields" (add-on boards) and libraries that expand what you can do.
A Thriving Community: Stuck on a problem? A quick online search will likely lead you to a forum where someone has already solved it.
Your First Project: The Blinking LED
Let's get our hands dirty! The classic first project is making a built-in LED on the Arduino board blink. Once you master this, you're well on your way to controlling the physical world with code.
What You'll Need:
An Arduino Uno (or any Arduino-compatible board)
A USB cable
A computer with the Arduino IDE installed (you can download it from the official Arduino website)
Step 1: The Code (The "Sketch")
In the Arduino IDE, you write programs called "sketches." Open the IDE and type (or copy) the following code:
// the setup function runs once when you press reset or power the boardvoid setup() {
  // initialize digital pin LED_BUILTIN as an output.
  pinMode(LED_BUILTIN, OUTPUT);}// the loop function runs over and over again forevervoid loop() {
  digitalWrite(LED_BUILTIN, HIGH);   // turn the LED on (HIGH is the voltage level)
  delay(1000);                       // wait for a second (1000 milliseconds)
  digitalWrite(LED_BUILTIN, LOW);    // turn the LED off by making the voltage LOW
  delay(1000);                       // wait for a second}
<svg xmlns="http://www.w3.org/2000/svg" width="12" height="12" viewbox="0 0 12 12" fill="none" class="_9bc997d _33882ae">Let's break down the code:
void setup(): This function runs only once, at the start. Here, we prepare our board. We usepinMode()to tell the Arduino that the built-in LED pin is anOUTPUTpin (we're sending a signal out to it).void loop(): This function runs repeatedly, forever, after thesetup()is done. This is where the main action happens.digitalWrite(LED_BUILTIN, HIGH): Sends power (5V) to the LED pin, turning it ON.delay(1000): Pauses the program for 1000 milliseconds (1 second).digitalWrite(LED_BUILTIN, LOW): Cuts power to the LED pin, turning it OFF.delay(1000): Pauses for another second.
Step 2: Upload the Sketch
Connect your Arduino to your computer using the USB cable.
In the IDE, go to Tools > Board and select your Arduino model (e.g., Arduino Uno).
Go to Tools > Port and select the correct port (it will usually have "Arduino" in the name).
Click the Upload button (the right-facing arrow).
You should see some lights flicker on your board, and then... the small LED labeled "L" will start blinking on and off every second! Congratulations, you've just brought your first piece of code to life!
Where to Go From Here?
The blinking LED is just the beginning. The real fun starts when you add components. Here are some ideas for your next steps:
Add a Button: Control the LED with a physical button.
Control an External LED: Use a breadboard, an LED, and a resistor to create your own light circuit.
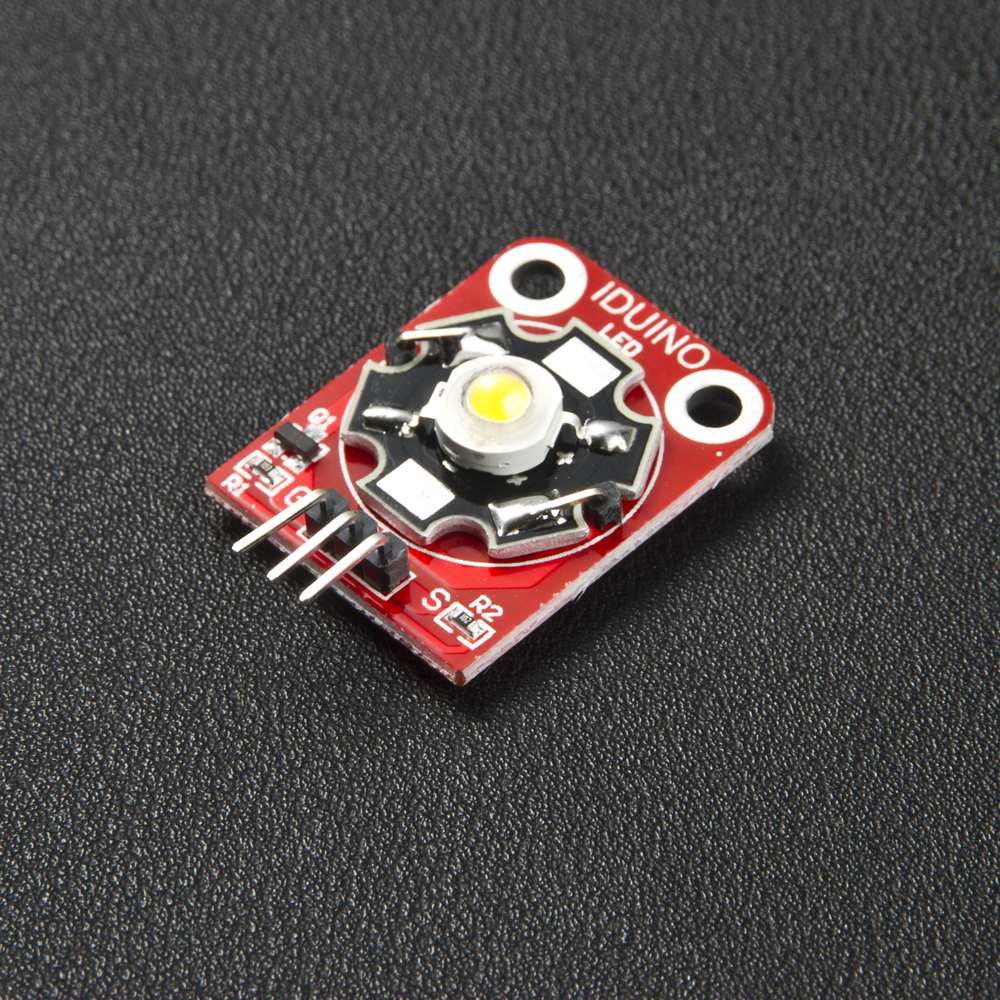
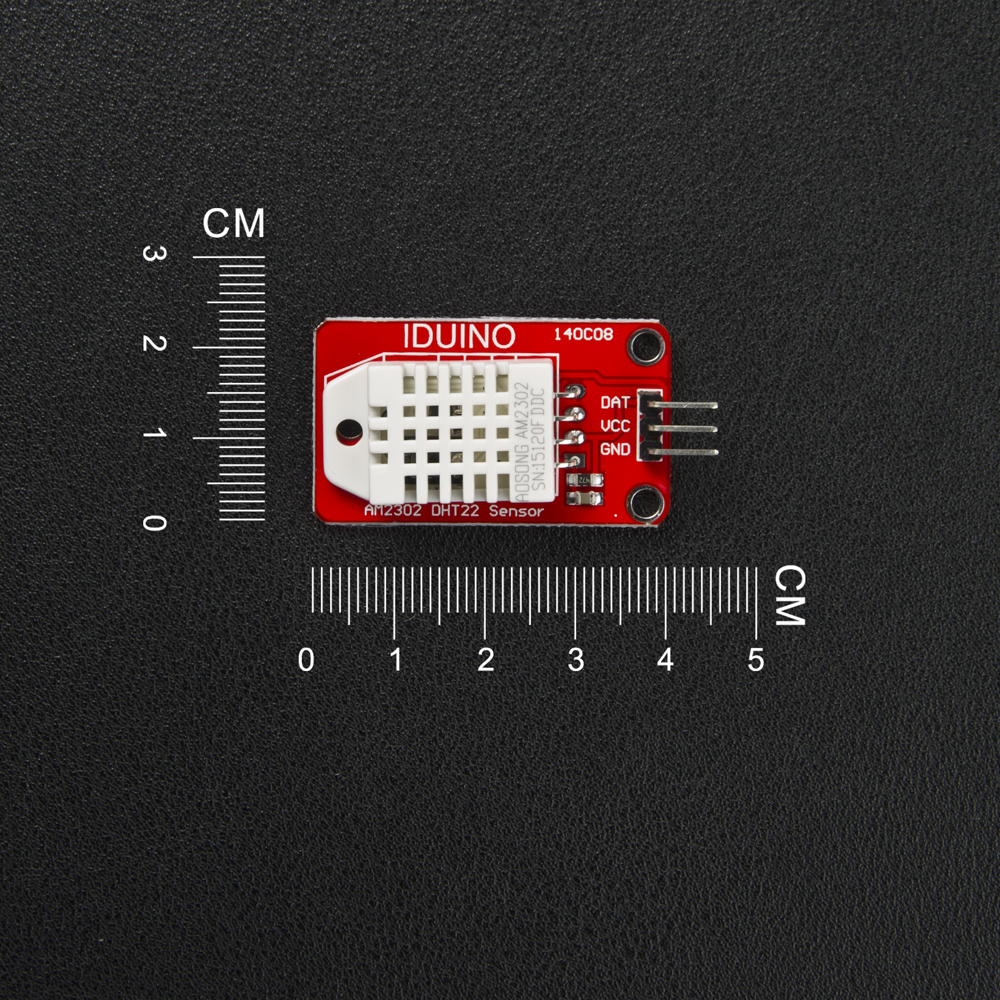
Sense the World: Add a temperature sensor and display the reading on your computer.
Make Some Noise: Connect a buzzer and program it to play a simple melody.
The possibilities are truly endless. Arduino empowers you to interact with the world around you in new and creative ways. So, what will you create?
Happy tinkering!